DIY Solar Panel installation Guide
This post contains affiliate links. I may earn a commission at no extra cost to you if you make a purchase. Note that I’m not a health or outdoor safety professional, so further research is advised. Your support keeps Outdoors A-Z running—thank you! Read the full disclosure.. Read the full disclosure here.
In an era where environmental consciousness meets innovative technology, harnessing solar energy has emerged as a sustainable and practical solution. Solar power not only reduces our carbon footprint but also empowers homeowners to take control of their energy consumption. If you’ve ever considered embracing the sun’s abundant energy, you’re in the right place.
This DIY Solar Panel Installation Guide is your roadmap to embarking on a journey toward energy independence. Whether you’re environmentally conscious, financially savvy, or simply curious about solar technology, this guide will equip you with the knowledge and confidence to install your solar panel system.
Table of Contents
Why Go Solar?
Solar energy is renewable, abundant, and, most importantly, free. By harnessing the power of the sun, you can significantly reduce your electricity bills and contribute to a greener planet. Imagine having the ability to generate clean energy right at home, reducing your reliance on non-renewable resources and mitigating the impact of climate change.
Understanding Solar Energy
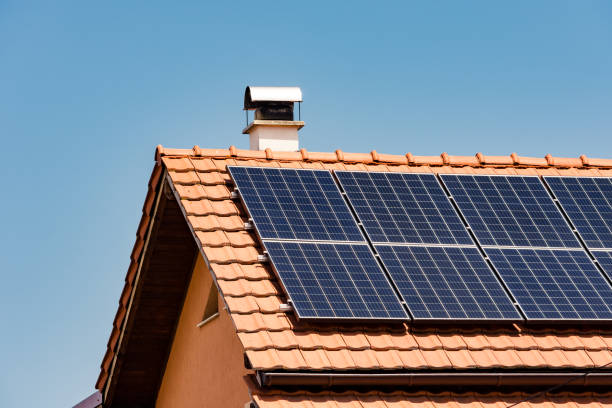
Before diving into the practical aspects of solar panel installation, it’s crucial to grasp the fundamental principles of solar energy. Solar power is derived from the sun’s radiation, which can be harnessed and converted into electricity using photovoltaic (PV) cells. These cells, commonly known as solar panels, are made from semiconductor materials, such as silicon, that absorb sunlight and generate direct current (DC) electricity.
How Solar Panels Work
Solar panels work on the principle of the photovoltaic effect. When sunlight strikes the surface of a solar panel, it excites the electrons in the semiconductor material, creating an electric current. This direct current (DC) is then channeled through an inverter, where it is converted into alternating current (AC) electricity, which is suitable for powering your home appliances and electronics.
Types of Solar Panels
There are different types of solar panels available, each with unique features and efficiency levels. The most common types include monocrystalline, polycrystalline, and thin-film solar panels.
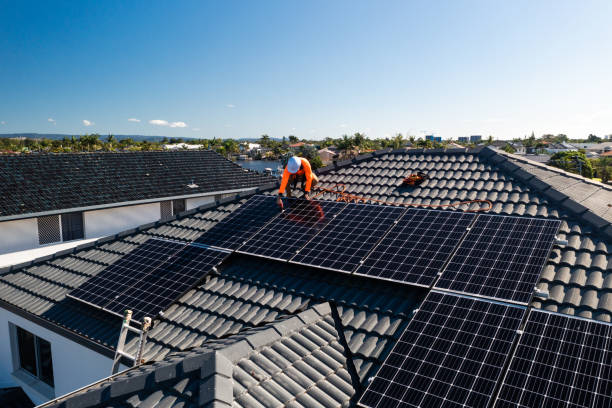
Monocrystalline panels are known for their high efficiency and sleek design, making them a popular choice for residential installations. Polycrystalline panels are cost-effective and offer good efficiency, while thin-film panels are lightweight and flexible, suitable for specific applications.
Environmental Benefits of Solar Energy
Harnessing solar energy has significant environmental advantages. Unlike fossil fuels, solar power is a clean and renewable energy source that produces no greenhouse gases or air pollutants. By transitioning to solar energy, you contribute to reducing air pollution, combating climate change, and conserving natural resources. Additionally, solar panels have a relatively low environmental impact throughout their lifecycle, making them an eco-friendly choice for sustainable energy production.
Understanding these core concepts about solar energy sets the stage for your DIY solar panel installation journey. In the following sections, we’ll explore how to assess your energy needs, plan your installation, and gather the necessary tools and materials. So, let’s continue our exploration of solar power and move closer to making your home a beacon of clean, green energy.
Assessing Your Energy Needs

Before you embark on your DIY solar panel installation, it’s essential to assess your energy needs accurately. Understanding your current electricity usage and future requirements will enable you to design a solar power system that meets your demands effectively.
Calculating Your Energy Consumption
Start by reviewing your recent electricity bills to determine your average monthly and annual energy consumption in kilowatt-hours (kWh). Look for patterns in your usage, such as seasonal fluctuations or changes in occupancy. This analysis will provide valuable insights into your household’s energy needs.
Factors to Consider When Sizing Your Solar Panel System
Peak Sunlight Hours:
Consider the average number of peak sunlight hours your location receives per day. This information helps you calculate the energy your solar panels can generate daily.
Roof Space:
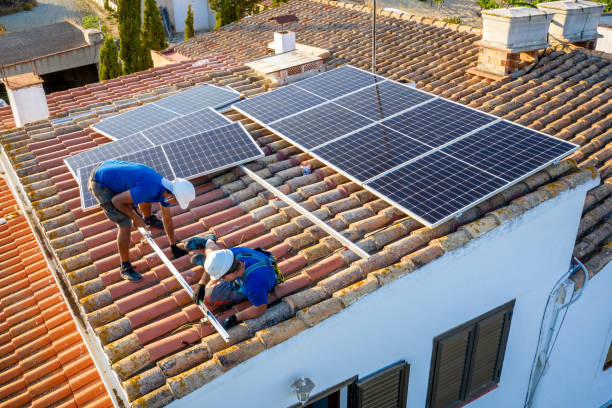
Evaluate the available roof space for solar panel installation. The size of your roof and its orientation toward the sun will influence the number of panels you can install.
Energy Efficiency Upgrades:
If you plan to make your home more energy-efficient by upgrading appliances or insulating your property, consider how these changes might affect your future energy needs.
Battery Storage:
Determine whether you want to install a solar battery storage system. Batteries store excess energy generated during the day for use during non-sunny hours, providing energy independence even after sunset.
Budget Considerations
Establish a budget for your solar panel installation project. Research the cost of solar panels, inverters, mounting equipment, and additional components. Factor in installation costs if you plan to hire professionals for specific tasks.
Setting a budget will help you make informed decisions while ensuring that your solar investment aligns with your financial goals.
By accurately assessing your energy needs and considering these essential factors, you’ll be well-prepared to move on to the next steps of planning your DIY solar panel installation. Armed with this knowledge, you can design a solar power system tailored to your requirements, maximizing your energy savings and contributing to a more sustainable future. Let’s proceed to the planning phase, where you’ll learn how to navigate the legal and regulatory aspects of solar panel installation.
Planning Your Solar Panel Installation
Congratulations on taking the first steps toward harnessing solar power for your home! As you move into the planning phase of your DIY solar panel installation, it’s crucial to navigate the legal and regulatory aspects to ensure a smooth and compliant process.
Understanding Legal and Regulatory Requirements
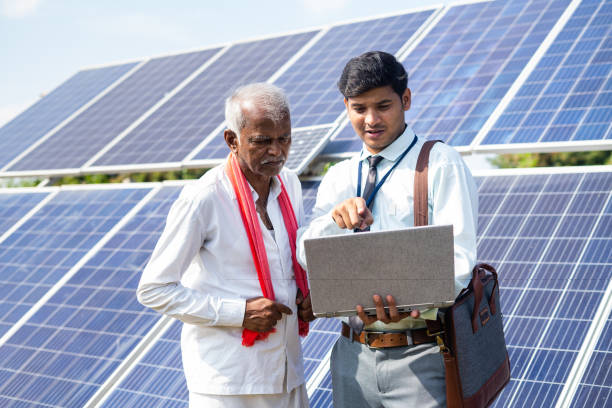
Before you start installing solar panels, familiarize yourself with the local laws, regulations, and building codes related to solar energy installations in your area. These regulations vary by region and may include zoning restrictions, aesthetic considerations, and safety standards. Check with your local authorities or consult a professional to obtain the necessary permits and approvals for your solar project.
Obtaining Permits and Approvals
Once you have a clear understanding of the legal requirements, proceed to obtain the required permits and approvals. This may involve submitting detailed plans of your solar panel installation to the local building department. Be prepared to provide information about the system’s design, electrical components, and safety measures. Obtaining permits ensures that your installation complies with local regulations and is safe for both you and your community.
Importance of a Site Assessment
Conduct a thorough site assessment to determine the optimal placement of your solar panels. Factors such as roof orientation, shading from nearby trees or buildings, and the angle of inclination can significantly impact your system’s efficiency. A site assessment helps you identify the best location for maximum sunlight exposure, ensuring that your solar panels generate the most energy possible.
Budgeting and Timeline
Review your budget and establish a realistic timeline for your solar panel installation project. Consider factors such as the availability of materials, weather conditions, and any unexpected challenges that might arise during the installation process. Having a well-defined budget and timeline will help you stay organized and on track as you move forward with your project.
Gathering the Required Tools and Materials
With a solid plan in place and a clear understanding of the legal requirements, it’s time to gather the essential tools and materials needed for your DIY solar panel installation. Having the right equipment ensures a smooth and efficient installation process, allowing you to harness solar power effectively.
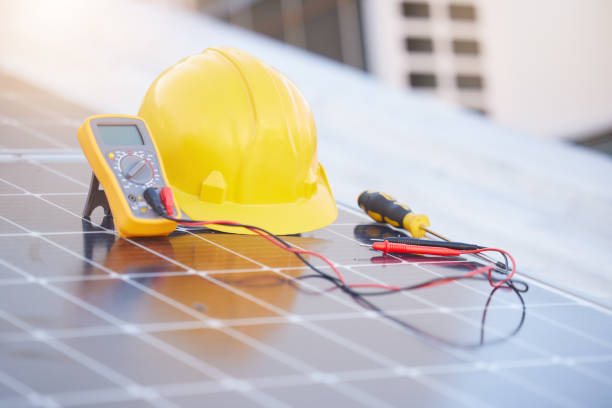
Tools Needed for Solar Panel Installation:
- Safety Gear: Safety should always be a priority. Invest in safety equipment such as gloves, safety glasses, and a hard hat to protect yourself during the installation.
- Drill and Screwdriver: A power drill with various bits and a screwdriver set will be essential for securing mounting brackets and panels.
- Ladder and Roof Anchors: A sturdy ladder and roof anchors are necessary for safe access to the installation site. Ensure that the ladder is tall enough to reach your roof comfortably.
- Measuring Tape and Level: Accurate measurements and a level surface are crucial for proper panel placement. These tools help ensure that your solar array is installed evenly and securely.
- Wrenches and Socket Set: You’ll need wrenches and a socket set to tighten nuts and bolts securely.
- Caulk Gun and Sealant: High-quality sealant helps weatherproof your installation. Choose a sealant compatible with your roof type to prevent leaks and secure mounting brackets.
- Wire Crimper and Stripper: These tools are necessary for connecting wires and ensuring proper electrical connections.
Materials for Solar Panel Installation:
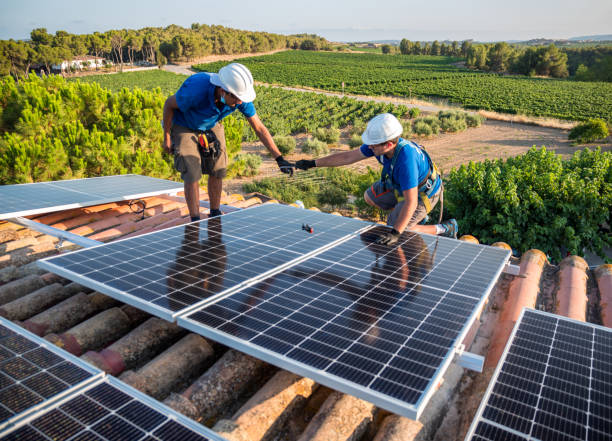
- Solar Panels: Choose high-quality solar panels with the appropriate wattage and efficiency for your energy needs. Monocrystalline panels are known for their efficiency and are a popular choice for residential installations.
- Mounting Brackets and Rails: Mounting brackets and rails provide the structural support for your solar panels. Ensure they are made of durable materials suitable for your roof type.
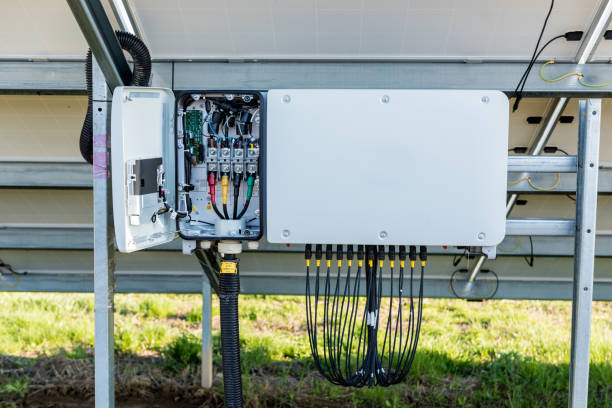
- Inverter: An inverter converts the direct current (DC) generated by solar panels into usable alternating current (AC) for your home’s electrical system. Consider a reliable inverter with the right capacity for your installation.
- Solar Batteries (Optional): If you want to store excess energy for later use, invest in high-quality solar batteries. These batteries store energy generated during the day for use during periods of low sunlight or power outages.
- Wiring and Connectors: Use appropriate wiring and connectors to connect the solar panels, inverter, and other components. Choose high-quality, weather-resistant cables to ensure long-term performance.
- Grounding Equipment: Proper grounding is essential for the safety and performance of your solar panel system. Use grounding lugs, wires, and grounding rods to establish a reliable grounding system.
By gathering these tools and materials, you are well-equipped to start your DIY solar panel installation. In the next sections, we will guide you through the step-by-step process of installing solar panels, connecting your system, and ensuring its long-term efficiency. Get ready to turn sunlight into electricity and embark on your journey to energy independence!
Installing Solar Panels Step-by-Step
Now that you have your tools and materials ready, it’s time to embark on the exciting journey of installing your solar panels. Follow these step-by-step instructions to ensure a successful DIY solar panel installation.
Step 1: Safety First
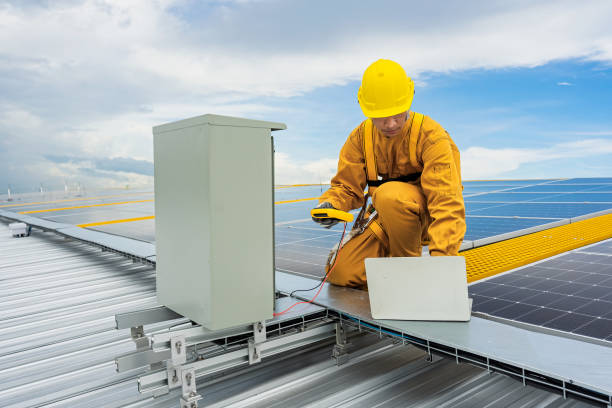
Before you begin, put on your safety gear, including gloves, safety glasses, and a hard hat. Ensure your ladder is stable and positioned on a level surface. Always work with a buddy to enhance safety, especially when working at heights.
Step 2: Mounting the Brackets and Rails
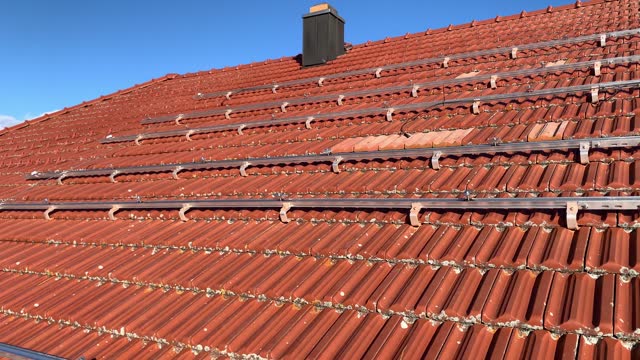
- Locate Roof Rafters: Use a stud finder to locate the roof rafters. Mounting your panels on rafters provides better stability.
- Attach Rails: Secure mounting rails onto the roof rafters using appropriate screws. Ensure the rails are level and well-aligned for proper panel placement.
- Install Mounting Brackets: Attach mounting brackets to the rails, ensuring they are evenly spaced and securely fastened. These brackets will hold your solar panels in place.
Step 3: Installing Solar Panels
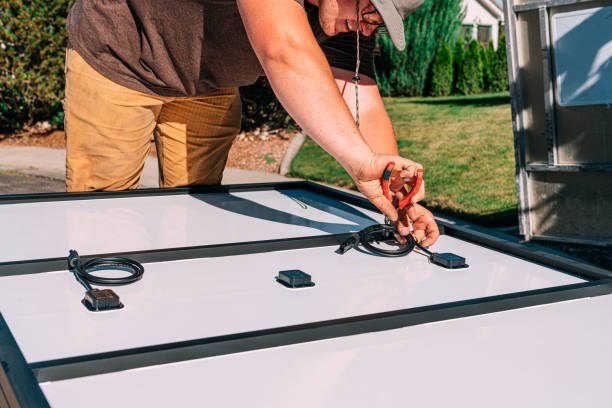
- Position Panels: Carefully lift each solar panel onto the mounting brackets. Have a helper assist you to ensure a safe and accurate placement.
- Secure Panels: Use bolts and nuts to secure the panels to the mounting brackets. Tighten them securely, but be cautious not to overtighten and damage the panels.
- Check Tilt and Alignment: Ensure the panels are tilted at the optimal angle to receive maximum sunlight exposure. Use a solar angle calculator to determine the best tilt angle based on your location.
- Connect Panels: Connect the panels in series or parallel according to your system design. Use weather-resistant connectors and follow the manufacturer’s instructions for proper wiring.
Step 4: Installing the Inverter and Wiring
- Install Inverter: Mount the inverter in a well-ventilated, easily accessible location, preferably indoors. Connect it to the solar panels and your home’s electrical system following the manufacturer’s guidelines.
- Wire the System: Use appropriate wires and connectors to link the solar panels, inverter, and batteries (if applicable). Ensure all connections are secure and well-insulated to prevent accidents or damage.
Step 5: Grounding the System

- Install Grounding Equipment: Install grounding lugs, wires, and grounding rods as per local electrical codes. Proper grounding is crucial for safety and system efficiency.
- Test the Grounding: Conduct a grounding test to ensure the system is properly grounded. Consult an electrician if you are unsure about the grounding process.
Step 6: Final Checks and Inspection
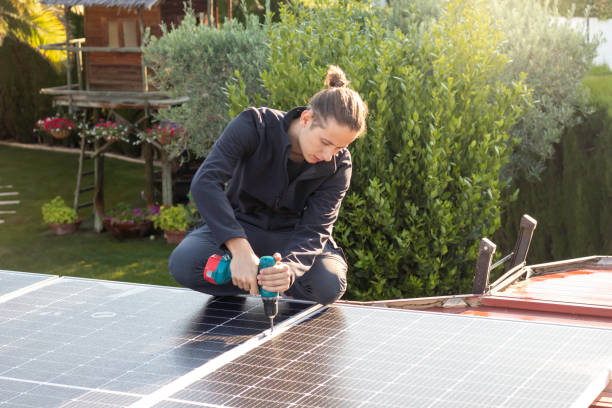
- Inspect All Connections: Double-check all connections, ensuring there are no loose wires or components.
- Perform a System Test: Test the system by monitoring its performance during a sunny day. Verify that the inverter is converting DC to AC electricity correctly.
- Schedule an Inspection: If required by local regulations, schedule an inspection with the relevant authorities to ensure your installation complies with safety standards.
By following these step-by-step instructions, you’ve successfully installed your solar panels, converting sunlight into clean, renewable energy for your home. In the next section, we’ll guide you through the process of connecting your solar panel system to the electrical grid, allowing you to enjoy the benefits of solar power. Stay tuned as you take the final steps toward energy independence!
Connecting Your Solar Panel System
Congratulations on successfully installing your solar panels! Now, it’s time to connect your solar panel system to the electrical grid, enabling you to harness the power of the sun and reduce your reliance on traditional energy sources. Follow these steps to ensure a safe and efficient connection.
Step 1: Obtaining Necessary Permissions
Before connecting your system to the grid, ensure you have obtained all the required permits and approvals from your local utility company and relevant authorities. Compliance with local regulations is essential to avoid legal issues and ensure the safety of your installation.
Step 2: Grid Connection Process
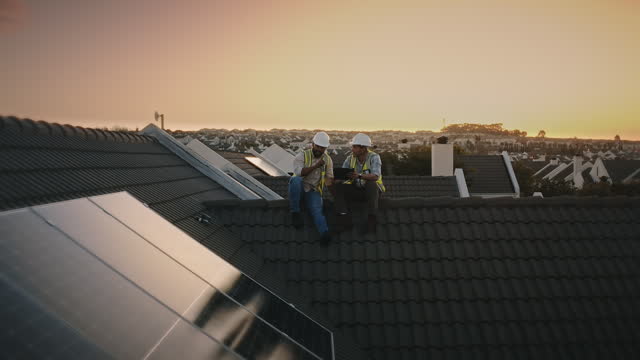
- Contact Your Utility Provider: Inform your utility provider about your solar panel installation. They will guide you through the process of grid connection and provide essential information about net metering and billing arrangements.
- Install a Production Meter: Your utility provider may require the installation of a production meter, which measures the electricity generated by your solar panels. Ensure the meter is installed correctly and accurately records your energy production.
- Net Metering Setup: Net metering allows you to receive credits for the excess electricity your solar panels generate and feed back into the grid. Work with your utility provider to set up a net metering agreement, enabling you to benefit from these credits.
Step 3: Inverter Connection
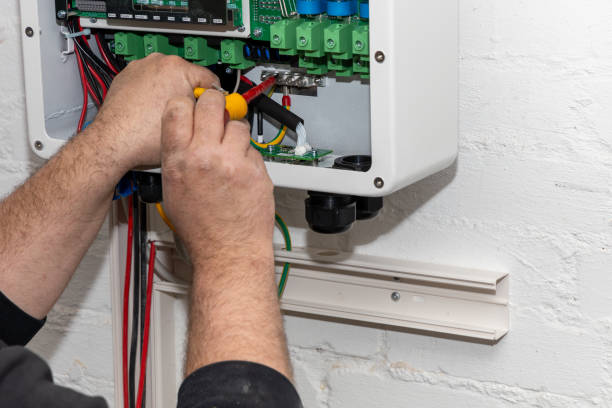
- Grid-Tie Inverter Setup: If you have a grid-tie solar system, connect your inverter to the grid according to the manufacturer’s instructions. Ensure the inverter is configured correctly to synchronize with the grid’s voltage and frequency.
- Safety Precautions: Exercise caution when working with live electrical components. Follow proper safety procedures, and if you are unsure, consult a qualified electrician to handle the inverter connection.
Step 4: System Testing and Monitoring
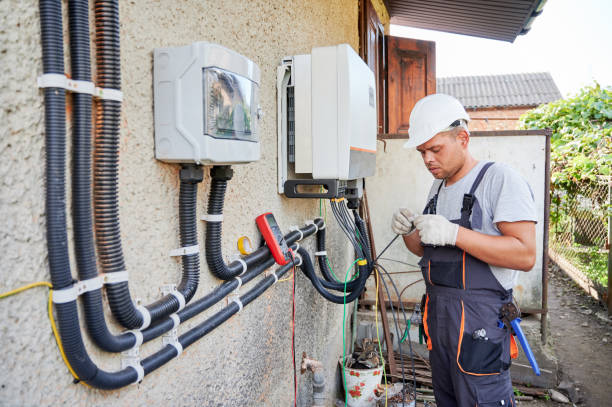
- System Testing: Conduct a thorough test of your solar panel system after connecting it to the grid. Verify that the system is generating electricity and feeding it back into the grid as expected.
- Monitoring Tools: Consider installing monitoring tools that allow you to track your system’s performance. These tools provide real-time data on energy production, allowing you to assess the system’s efficiency and troubleshoot any issues promptly.
Step 5: Regular Maintenance and Monitoring
- Scheduled Inspections: Arrange for periodic inspections of your solar panel system to ensure it is functioning optimally. Inspections can identify potential problems early, preventing costly repairs later on.
- Clean Panels: Keep your solar panels clean from dirt, dust, and debris to maintain their efficiency. Regularly clean the panels, especially in areas with limited rainfall or high pollution.
By following these steps, you have successfully connected your solar panel system to the electrical grid. Enjoy the benefits of renewable energy, reduced electricity bills, and a greener, more sustainable lifestyle. Remember to stay informed about any updates in regulations and technology to make the most of your solar investment. Congratulations on your journey to energy independence!
Maintenance and Troubleshooting
Now that your solar panel system is up and running, it’s essential to implement regular maintenance practices to ensure its long-term efficiency and trouble-free operation. Additionally, being aware of common issues and knowing how to troubleshoot them will help you address any challenges that might arise. Here’s a guide to maintaining and troubleshooting your solar panel installation.
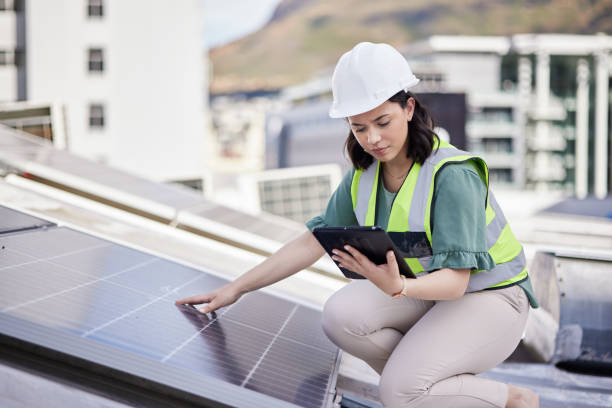
Regular Maintenance Tips:
- Monitor Energy Output: Keep an eye on your system’s energy production using monitoring tools. Sudden drops in production could indicate a problem that needs attention.
- Inspect for Damage: Periodically inspect your solar panels for physical damage, such as cracks or moisture infiltration. Address any issues promptly to prevent further damage.
- Clean Panels: Dirt, dust, and bird droppings can reduce your panels’ efficiency. Clean your solar panels regularly with a soft brush, mild soap, and water to ensure optimal sunlight absorption.
- Trim Surrounding Vegetation: Trim trees and branches that may cast shadows on your solar panels, especially during peak sunlight hours. Shadows can significantly reduce energy production.
- Check Inverter Performance: Ensure your inverter is functioning correctly. Most inverters have indicator lights that signal normal operation. Consult your inverter manual to interpret these indicators.
- Inspect Wiring and Connections: Regularly inspect wiring and connections for signs of wear, corrosion, or damage. Loose connections can disrupt the energy flow and should be tightened immediately.
Common Troubleshooting Issues and Solutions:
- Low Energy Production:
- Cause: Shading from nearby objects or dirt on the panels.
- Solution: Trim surrounding vegetation and clean the panels. Consider installing microinverters or power optimizers to mitigate shading issues.
- Inverter Issues:
- Cause: Inverter errors or failure.
- Solution: Check the inverter display for error codes. Consult the manual for troubleshooting guidance. If issues persist, contact the manufacturer or a certified technician for repairs.
- Battery Problems (If Applicable):
- Cause: Battery not holding a charge or failing to provide backup power.
- Solution: Check the battery connections and voltage levels. If problems persist, contact the manufacturer or a qualified technician for battery replacement.
- Electrical Issues:
- Cause: Faulty wiring, loose connections, or circuit breaker tripping.
- Solution: Inspect wiring and connections for damage. If you’re unsure, consult a licensed electrician to identify and resolve the issue.
- Performance Discrepancies Between Panels:
- Cause: Differences in panel orientation, shading, or individual panel issues.
- Solution: Ensure all panels are correctly positioned and free from shading. If the problem persists, consult a professional to assess individual panel performance.
Regular maintenance and prompt troubleshooting are key to maximizing the lifespan and efficiency of your solar panel system. By staying proactive and addressing issues as they arise, you can enjoy consistent energy savings and contribute significantly to a more sustainable future. Keep your system well-maintained, and it will continue to power your home with clean, renewable energy for years to come.
Conclusion
Congratulations! You’ve successfully navigated the intricate process of DIY solar panel installation, transforming your home into a hub of clean, renewable energy. By harnessing the power of the sun, you’ve not only reduced your electricity bills but also made a substantial contribution to the environment.
In closing, your commitment to solar energy signifies a transformative shift toward a brighter, cleaner future. Your actions ripple beyond your home, influencing communities and shaping a world powered by renewable energy. Thank you for embracing the power of the sun, and may your solar journey continue to illuminate both your life and the world around you. Here’s to a sustainable and solar-powered tomorrow!

